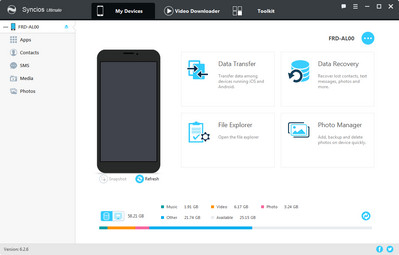
![]() One management tool for all smartphones to transfer files between PC & iOS/Android devices.
One management tool for all smartphones to transfer files between PC & iOS/Android devices.
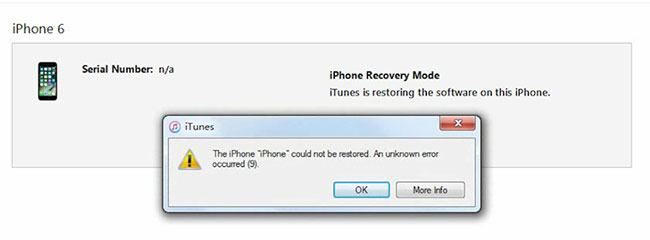
If you are an iDevice user, you may have faced various errors with iTunes, and iTunes error 9 is one of the tricky errors. iTunes Error 9 is not a very common error code in contrast to Error 4014 or iTunes Error 3194. But when it hits, whatever you were trying to do is stopped. In most cases, Error 9 comes up when you are trying to upgrade/update your firmware. If you unfortunately meet this unknown error, follow 6 ways below to have a fix.
![]() About iTunes Error 9
About iTunes Error 9
iTunes error 9 is a possible security software issue that usually comes up when you are trying to upgrade/restore your firmware on iPhone, iPad, or iPod. This could be firewall blocking access to specific websites/web resources (like iTunes trying to download something from Apple's servers). Below are 5 common factors that would cause iPhone error 9. It can also occur for reasons, stated below.
One of the first things you can try is to change the USB port where the cable connects. You’d be surprised at how randomly this fixes all hiccups when trying to upgrade/update the firmware. The USB cable could be faulty, if you happen to use a cable that did not come with your device. Make sure that the USB cable is certified and authentic - best if it was from Apple. Here are the steps to ensure the USB cable connection is okay.
Step 1 : Ensure the original USB cable is used. You could also try a standard Apple USB cable.
Step 2 : Check the cable connection from the iPhone to the computer or vice versa. Ensure there are no loose connections and all cables are properly plugged in.
Step 3 : Unplug the cable that connects to your iPhone from the USB port on your computer, and then reconnect it. Do the same from your iOS device.
Step 4 : Ensure the USB cable is directly connected to the port on the phone. If necessary, try to remove any third-party battery packs or cases.
If the above solution did not work, then a security software on your computer is perhaps blocking communication to Apple’s servers. iTunes needs to access to lots of network servers to complete the sync and upgrade job, and these network directories may mark iTunes as virus software. A bit of investigation is needed, so please follow carefully.
Step 1 : Go into your anti-virus software and check if iTunes is blocked or not included in the exceptions list.
Step 2 : Go into your firewall program or for Windows users, Windows Firewall. Be sure that iTunes is on the exempted list.
Step 3 : Close virtualization apps if you have them. This is especially noted to block USB communications if they are outdated.
Step 4 : In conjunction with your software being an update, include and ensure the security software are as well.

It is always advisable to all the users that the iTunes must be of latest version that helps avoiding these kinds of glitches. Hence, make sure that you’ve the recent version and if you don’t have it, install now and come out of the trouble. To install, follow the instructions below.
Step 1 : Open iTunes.
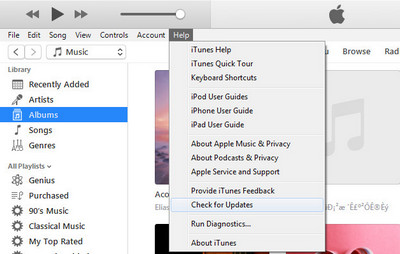
Step 2 : From the menu bar at the top of the iTunes window, choose Help > Check for Updates.
Step 3 : Follow the prompts to install the latest version.
Step 4 : Or you can directly download the latest version from here.
Step 1 : Open the App Store on your Mac.
Step 2 : Click Updates at the top of the window.
Step 3 : If any macOS or iTunes updates are available, click Install.
If you can access another computer/laptop, another good practice is to try a different computer where you can plug in your iOS device. Make sure it has iTunes and try Solution 3. If this works, it means that your computer has an issue that needs to be addressed.
This could include hardware or software problems or worst case scenario, a binary code in your registry has been altered. If the latter is true, then you would perhaps need to perform a complete computer recovery.

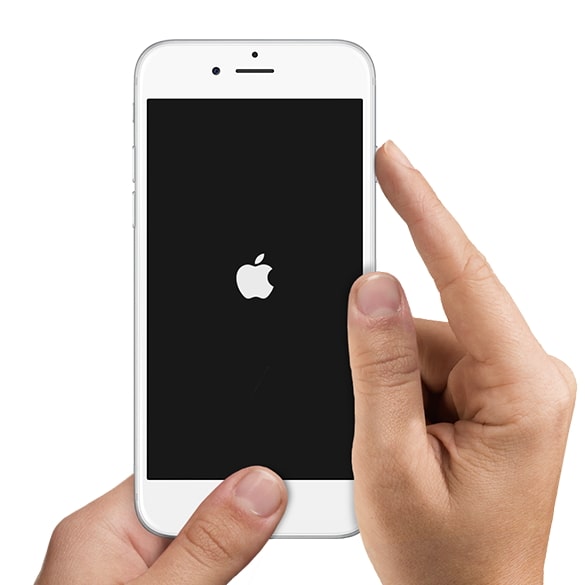
iTunes error related to software issue like software crash can be resolved by this method. Press and hold the Sleep/wake button and the Home/Volume button at the same time. Keep holding the buttons at least 10 seconds and release the buttons when the Apple logo appears. After that, try to charge your iPhone again.
Resetting your iPhone 6s and earlier, iPad, or iPod touch: Press and hold both the Home and Top (or Side) buttons for at least 10 seconds, until you see the Apple logo.
Resetting your iPhone 7 or iPhone 7 Plus: Press and hold both the Side and Volume Down buttons for at least 10 seconds, until you see the Apple logo.
Resetting your iPhone X, iPhone 8, or iPhone 8 Plus: Press and quickly release the Volume Up button. Press and quickly release the Volume Down button. Then, press and hold the Side button until you see the Apple logo.
iTunes could be kind of irritating while doing iPhone/iPad/iPod data transfer and backing up/ restoring data. Fortunately, there is an third-party tool, like Syncios Mobile Manager , which hepls you transfer music, videos, photos, contacts, messages, apps, etc between iPhone/iPad/iPod and computer easily. With this utility mobile assistant, you are able to backup & restore everything on your iPhone with only one click, manage iTunes library, playlist, make ringtone, download Youtube video to iOS devices freely.
